

Wifi.wavlink.com Refused to Connect?
Is the web address wifi.wavlink.com is not working for you? Yes? Want to perform Wavlink WiFi extender setup process – but due to refusal of the web address – you are unable to do so? Yes? Need not to worry! We have got you covered! In this article – you will find the best hacks – following which you will be able to connect to the Wavlink extender’s default web address, wifi.wavlink.com.
Let’s dig a little deeper!
Fixes to wifi.wavlink.com Refused to Connect
Apply these hacks and have access to the web address in minutes. Keep reading!
Update Your Web Browser
This is the very first hack that you can try to fix wifi.wavlink.com refused to connect issue. Yes! Update the web browser you are using! Perhaps the browser’s version you are using is outdated. So, what you can do to log in to your Wavlink extender and set it up using the web address? Updating the web browser right away would be a better option.
What happened? Updating the web browser didn’t help either? Yes? Why are you worrying then? It’s normal! Clear browsing history and close/ unpin unnecessary opened/ pinned tabs on your web browser.
Cross-check the Web Address
It seems like you have committed typing errors in the default web address of your Wavlink extender which is why it is not working or refused to connect. No worries! You just need to check the web address after inputting it in the web browser address bar.
And, even after cross-checking the web address – wifi.wavlink.com is still refusing to connect – then try using the copy-paste technique to see if it helps. In the referred technique – you just have to copy wifi.wavlink.com and paste it in the web browser URL bar.
Still the web address is not working for you after applying the copy-pasting technique? Yes? Then –clear browsing history and update the software of your computer/ laptop as well. What happened? The software of your client device is already up-to-date? Yes? In that case – restart the device and log in to your Wavlink extender using the web address. Did the restarting of the device help you? No? Head over to the next hack!
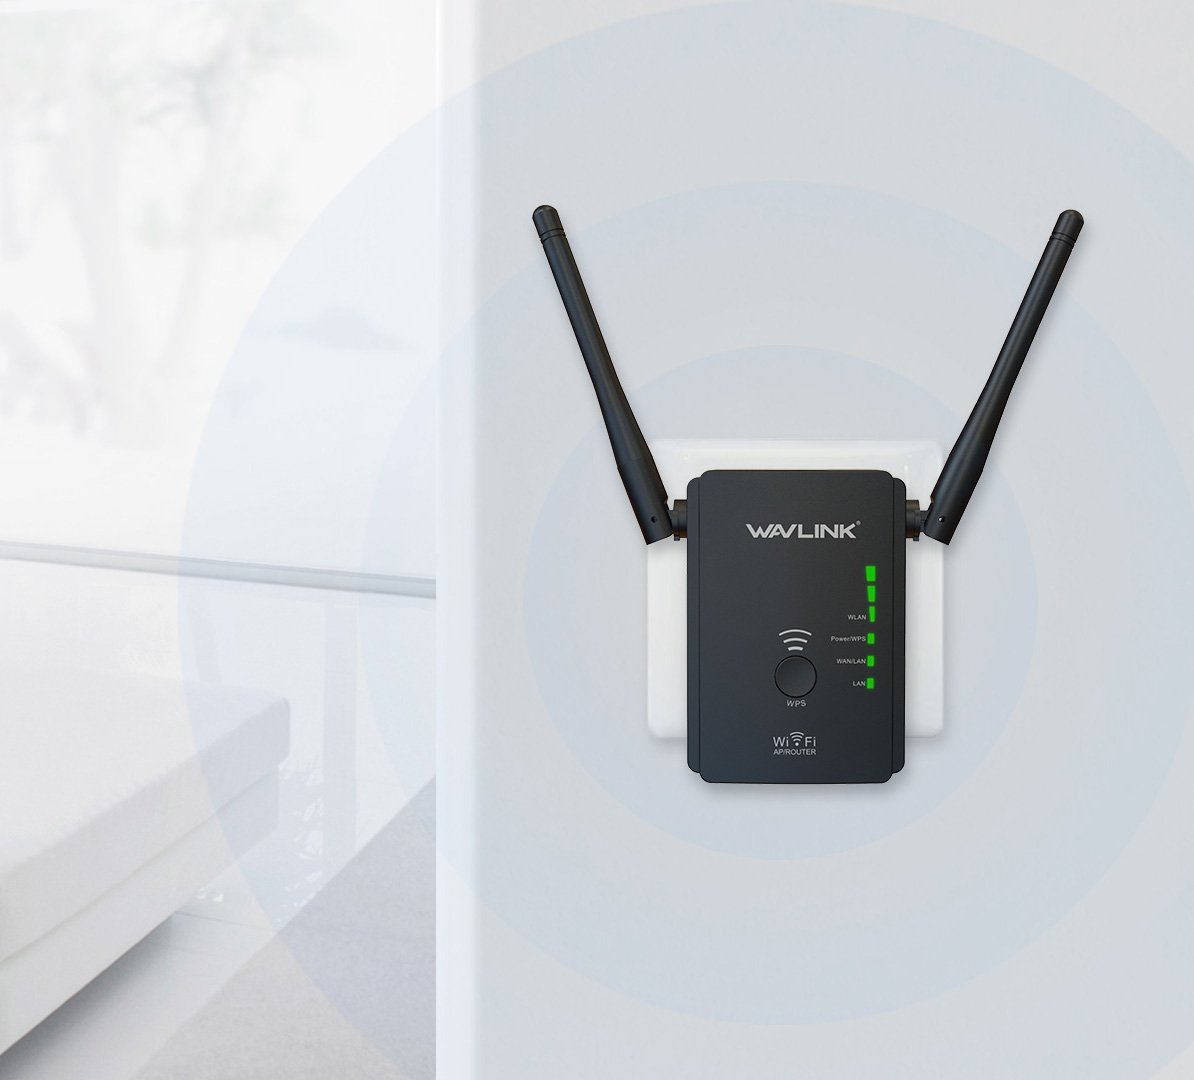
Connect Your Computer and Wavlink Extender
The web address, wifi.wavlink.com will refuse to connect if you haven’t connected your computer or laptop to the range extender. So, take an Ethernet cable and then make a wired connection between the devices.
But, what if you don’t have an Ethernet cable? Don’t worry! Use a wireless source for connecting them! Just navigate to the WiFi settings of your computer – find the default SSID of your range extender from the appearing list – connect with it using the correct password – and see if wifi.wavlink.com is working now or not.
Restart Your Wavlink Extender
Because of technical glitches – you may have issues logging in to your Wavlink extender using the web address. So, what you can do – unplug your extender and disconnect it from your router. Then, you can unplug the Wavlink device from the wall socket and wait for 5 minutes. After 5 minutes – plug in back your range extender – reconnect it to your router and computer – and try to access the web address again to see if the restarting process helped you out to rack up success this time.
The Final Thoughts
Now, we are ending up this article. Anticipating that – after implementing the hacks here – the Wavlink extender’s default web address, wifi.wavlink.com is not refusing to connecting this time. On the off chance – it is working – then without delay – log in to your Wavlink extender – perform Wavlink WiFi extender setup, and update it firmware to the latest version.